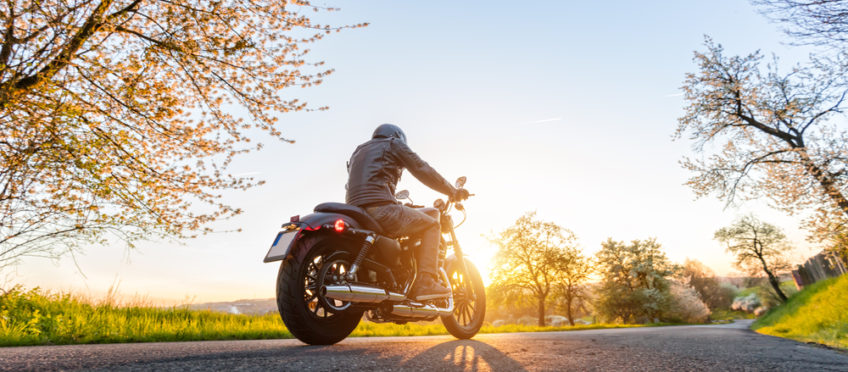
Dreaming about the first ride of the season dispels winter darkness. Spending time with your motorcycle and making sure it’s ready to ride makes that dream come true.
Even if you were meticulous in winterizing it, oxidization, condensation, and critters may have damaged it during storage. A thorough and methodical check will show you what needs attention, give you time to tend to it before that irresistible first day arrives, and reacquaint you with your trusted companion. In any case, a few hours spent with your bike and owner’s manual will reassure you it’s safe to ride.
Follow this guide for a smooth spring start. Always refer to your owner’s manual for guidance for your specific motorcycle.
Tires
Only a few square inches of rubber keep your motorcycle—and you—on the road. Tire checks are easy, and one of the most important safety checks. Make it a habit and give them at least a visual inspection before every ride.
Check for tread depth, embedded objects, bulges, damage, and cracks. Tires that sit in the same spot for a while, especially soft compound rubber, may develop flat spots that can cause handling problems.
Measure the air pressure and inflate both tires to the manufacturer’s recommended setting. Tires can lose air pressure with time, especially in cold weather.
Consider replacing tires now if they’re near the end of their life, rather than getting caught waiting during riding season.
Battery
Batteries last an average of four years, if you maintain them. If you’ve kept yours on a trickle charger over the winter, it should have held its charge. If you forgot, do it now. If nothing happens when you hook it up, it may be too far gone to be brought back to life. It’s better to know now so you can order a new one.
If you have a wet cell battery, check the electrolyte levels and top up as necessary. Sealed and gel batteries are maintenance free.
Before you start your bike, check both terminals and leads to make sure they’re clean, secure, and free of dust, dirt, and corrosion. Make sure the strap that holds the battery in place is secure.
Fluids
Motorcycles survive on several specific fluids, which can degrade over time. Now’s a good time to check your manufacturer’s recommended maintenance schedule and change them if they’re due.
Look for changes in colour and consistency. As a general rule, replace anything that looks different than it did going in.
Brake fluid should be replaced every two to three years. As a minimum, check the level in your master cylinder and top up as necessary. Make sure you use the correct brake fluid—your manual will tell you which DOT brake fluid to use.
Check coolant levels on water-cooled bikes and inspect your radiator and hoses for leaks. Refer to your maintenance schedule to see if it’s time to flush the system.
Change your oil and filter unless it was done in the fall.
If your bike is carbureted, turn the fuel tap to the on position before starting it.
Drive Trains
Whatever the drive system on your motorcycle, make sure it’s in good shape and set to the correct tension.
Chains (and sprockets) should be clean and well lubricated. Check chain and sprockets for wear. If you have a drive belt, inspect for signs of cracks or tears.
Shaft drive bikes are low maintenance but the gear oil does have to be changed periodically. Refer to your owner’s manual.
Cables, Hoses, and Controls
Check cables for fraying, corrosion, or damaged coverings. Make sure there are no folds or kinks.
Check fluid lines for cracks or signs of leakage.
Make sure throttle, clutch, and brake controls work properly, and that your steering moves freely without getting hung up.
Lights, Horn, and Wiring
Check wiring for signs of wear, corrosion, or damage.
Test headlights, brake lights, turn signals and flashers to make sure they work. Give them a visual inspection to make sure they’re connected securely. Honk the horn.
Brake pads
Look at each set of brake pads on your bike to confirm there’s lots of wear left. Many brake pads have wear bars on them just as tires do. If you can’t see them with a flashlight, remove, inspect, and clean them. Change them now if necessary. Test front and rear brakes separately and listen for squeals or scraping sounds.
Air Filter
If you plugged your air filter to prevent critters from nesting, make sure to unplug it. If you didn’t, check for evidence that it’s been used as a winter home. One season mine was full of sunflower seed shells. Also remove any plugs from your exhaust pipes.
Tool Kit
Make sure the tools it holds are clean, and free of rust. Double check to make sure everything is there and replenish as necessary. You may want to add a few small frequently used items that aren’t stock, such as an air pressure gauge.
Once you’re certain your bike is ready to go, start it. Listen for unfamiliar noises, check for leaks, and note anything unusual.
If you need to take it to a mechanic, book it now. Good shops book up in spring and you don’t want to delay that first ride.


join the conversation