

The leaves have fallen and the geese have flown. The temperature has dropped to the single digits. It is the saddest time of the year for Canadian motorcyclists, when the bike has to go into storage for the next four months. Here in Quebec, we have to be off the roads by December 1st. For others, you can ride until the snow flies, but when the time eventually comes to call it a season, don’t just park the bike. Just as you want to do a spring tune-up when the bike comes out of storage, there are certain things you’ll want to do before putting the bike away. I store my bike in an unheated shed all winter, so I’m a bit obsessive about this. Here is what I do to protect my bike from the ravages of time and winter.
“Before we proceed, please note that every bike is different, and products recommended in this article may not work for all models. We recommend that you consult your mechanic prior to purchasing and using any products mentioned below, as they will be able to provide you with the best advice.”
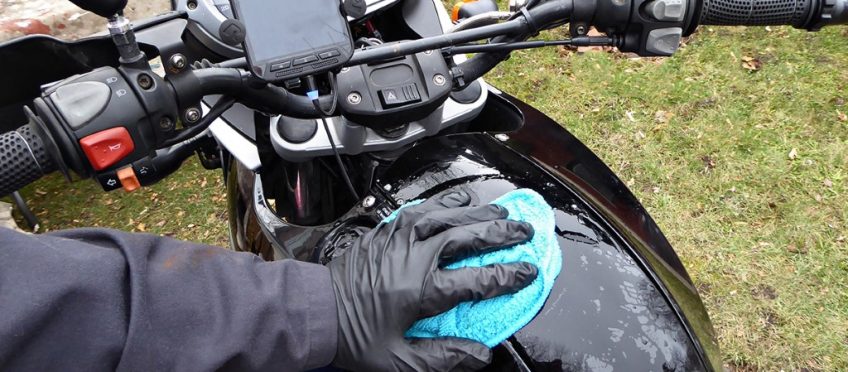
Clean and Wax the Bike
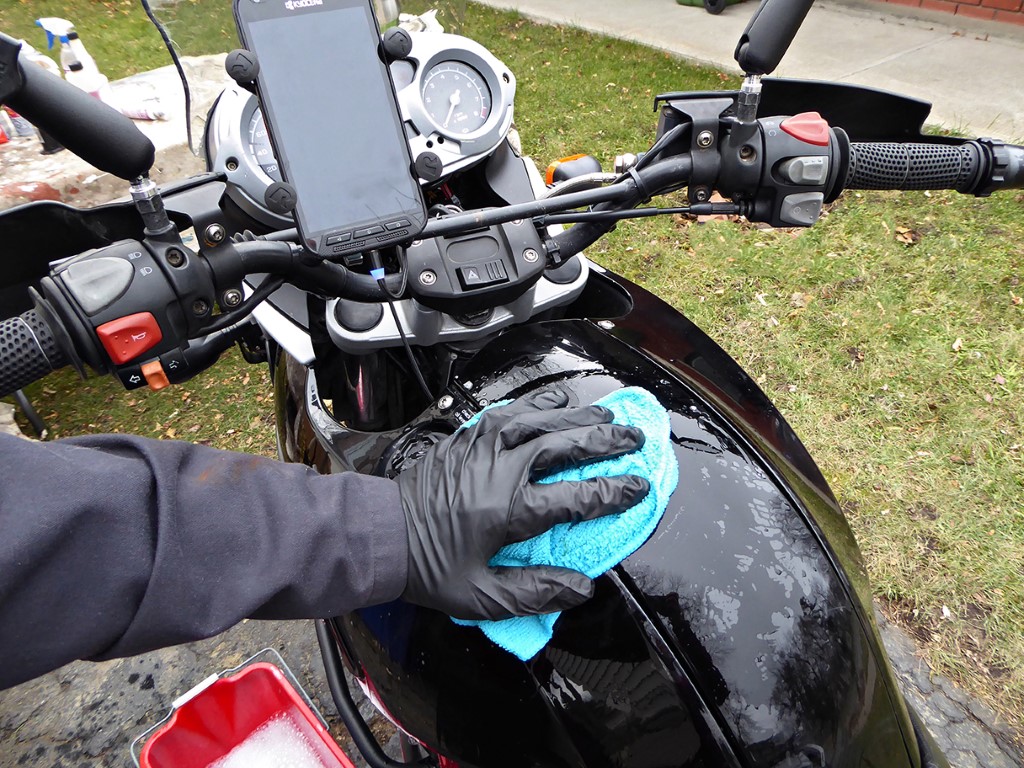
You’ll want to start with a thorough cleaning top to bottom, including the engine. My go-to product these days for the engine is S100. It’s a spray so it can reach deep inside the bike, like under the seat to the shock, and work its magic on irregular surfaces. Just spray it on, wait a few minutes, and hose it off with water using a nozzle set on jet. For grimy sections, you might need to give it a little scrub with a soft brush before spraying it off. It’s safe for plastics and electrical components, but I still prefer to use a dedicated car wash soap like Meguiar’s Gold Class for the plastics. When the bike is spotless, run it briefly to dry it, and then put some wax on; for added protection from the elements, leave the wax and buff it off in the spring.

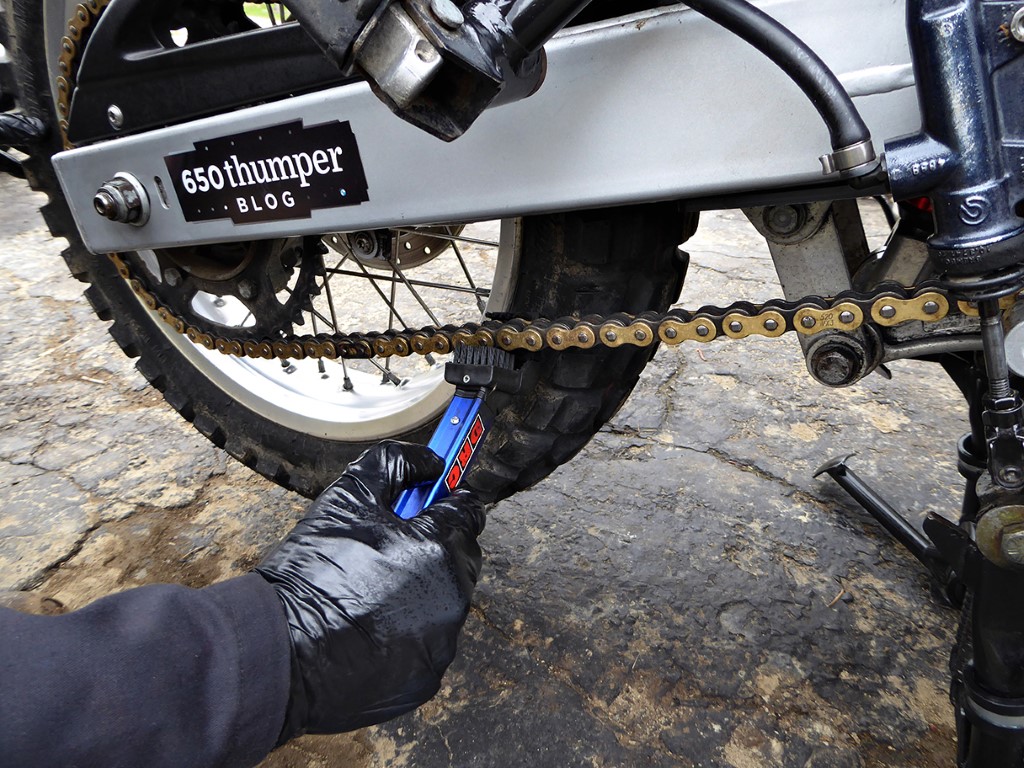
Clean and Lube the Chain
Kerosene is the most economical way to clean the chain. Pour a little into a spray bottle and use that to be even more economical. Then brush the chain using either a three-sided brush designed for this purpose or a Dollar Store brush, but do be sure to get all surfaces and then wipe with a rag. When the chain is clean, spray on your preferred lube. For best results, you want to heat the chain a bit so the lube works into the seals, so this is a good time to go for your last ride of the season, just far enough for this purpose, ending up at the gas station.
Top Up Your Gas Tank
My bike has a plastic gas tank, but many have steel tanks that can rust from condensation inside the tank. That happens when there is air in the tank if it’s partially filled. So fill it to the top and add a good fuel stabilizer. Ryan at Fort Nine has just done a good video comparing the effectiveness of different stabilizers, so get one that works. (Some apparently do not.) Also, if you can, get ethanol-free gas for this last fill, since it’s ethanol that does nasty things to your carburetor or injectors as it ages. You’ll have to do some sleuthing to find out what providers offer an ethanol-free choice. Pure-gas.org provides a definitive list of ethanol-free gas stations in Canada and the US. If you can’t find pure gas, don’t sweat it; just use a good fuel stabilizer like Sta-Bil, but do at the pump so it has the opportunity to mix and work it’s way down into your carburetor or injector, whichever the case may be, as you ride home.
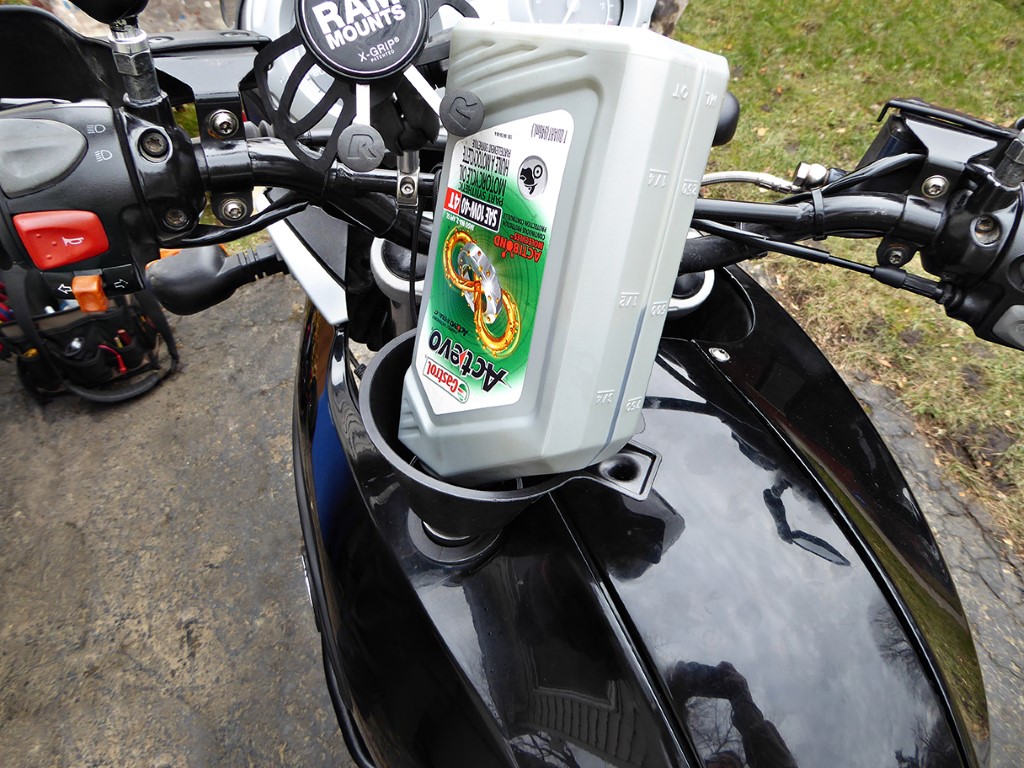
Change Your Oil and Filter
Now that the exterior of the bike is clean, it’s time to clean the interior. You don’t want your engine bathing in dirty oil all winter, do you? Don’t forget to run the bike to heat the oil first, since it will be cold and you want to get as much out as possible. If you time this well, you can drain the oil upon returning from the gas station. And of course, you want to change the filter as well. Follow the instructions in a good service manual and it won’t be hard.
Protect the Piston
I like to line the inside of the combustion chamber with oil to prevent rust. I remove a spark plug and squirt about a tablespoon of motor oil into the cylinder.
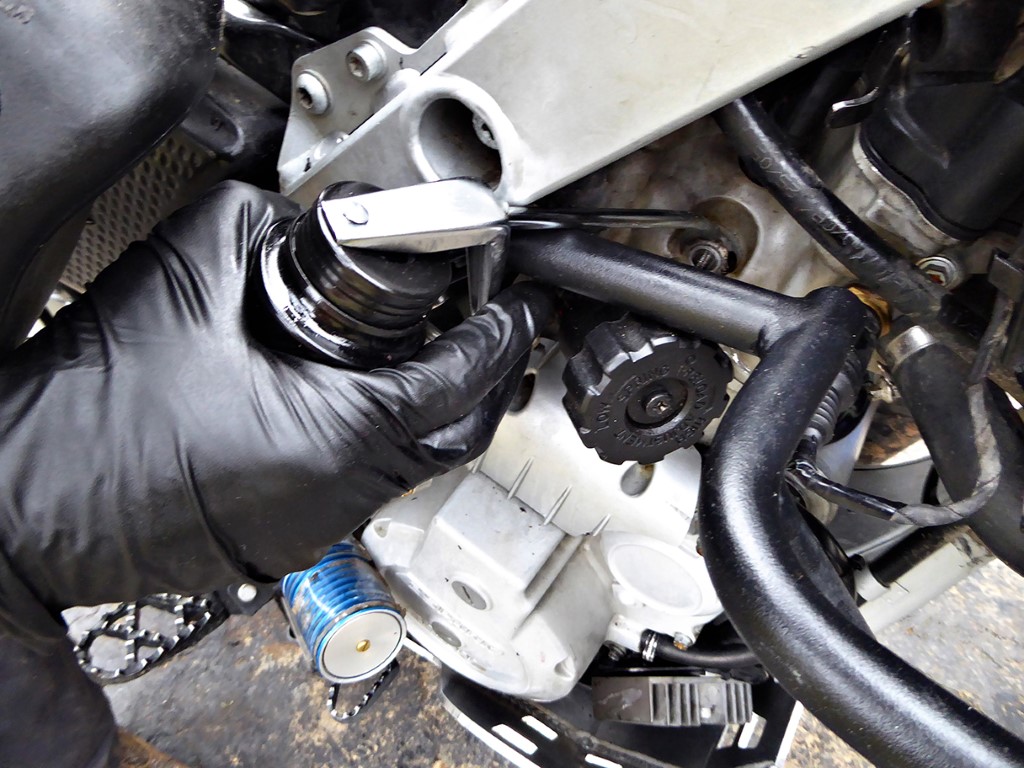
Then I turn the engine over a few times to spread the oil around. To do this, I put my bike on the centre stand and in gear and turn the engine by turning the rear wheel. It’s easiest to do this in top gear and with a spark plug out. Alternatively, you can try walking the bike in gear but the rear wheel might just skid. As a last resort, you can turn the engine over a few revs using the starter but make sure it doesn’t fire! For me, I can leave my side-stand down because it’s switched. There might be another way you can do this on your bike, such as by pulling a specific fuse or removing the coils. The downside of this Lazy Man’s method however is that you will be getting a bit of unburned gasoline injected into the cylinder too.
Ideally, you want to put the engine at top dead centre for the big sleep, sealing off the cylinder from air. You can feel for this using the compression of the engine. When the engine is hardest to move, you are at TDC, or close to it. Now put the bike into neutral to wheel around into its final spot for the winter. Don’t forget to replace the spark plug and torque to the specification listed in your shop manual.
Rust-Proof Your Bike
Next, I spray an anti-corrosion product over the entire bike, except for the plastics, tires, and the brakes (pads and discs). Like I said, I’m a bit obsessive about protecting my bike. My preferred product for this is ACF-50. It was designed in the aerospace industry and is used to protect jet engines, so it’s safe for electrical components as well as plastics if you happen to get some on the bodywork. Spray it on, let it sit for a few minutes for its capillary action to work, then wipe off the excess. Okay, so you’re engine is a little slimy in the spring, but it will burn off at the first ride, leaving a protective film for the season. Another product I’ve recently discovered is Fluid Film, which seems to provide similar rust and corrosion protection and is more readily available than ACF-50.
Seal Your Exhaust
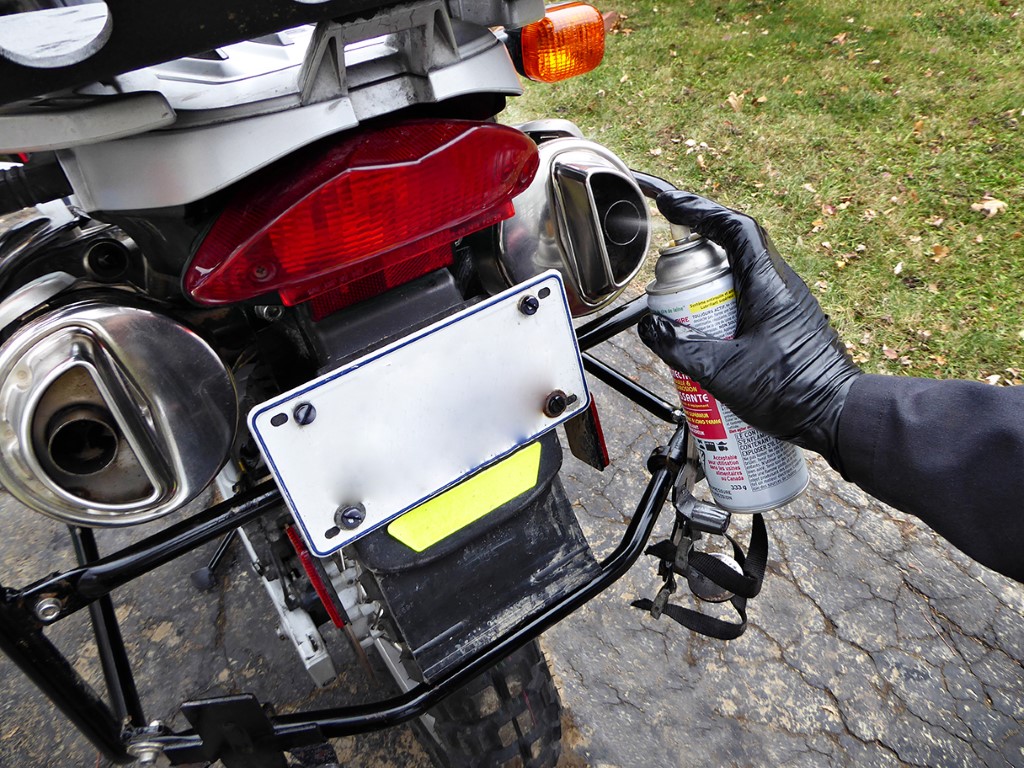
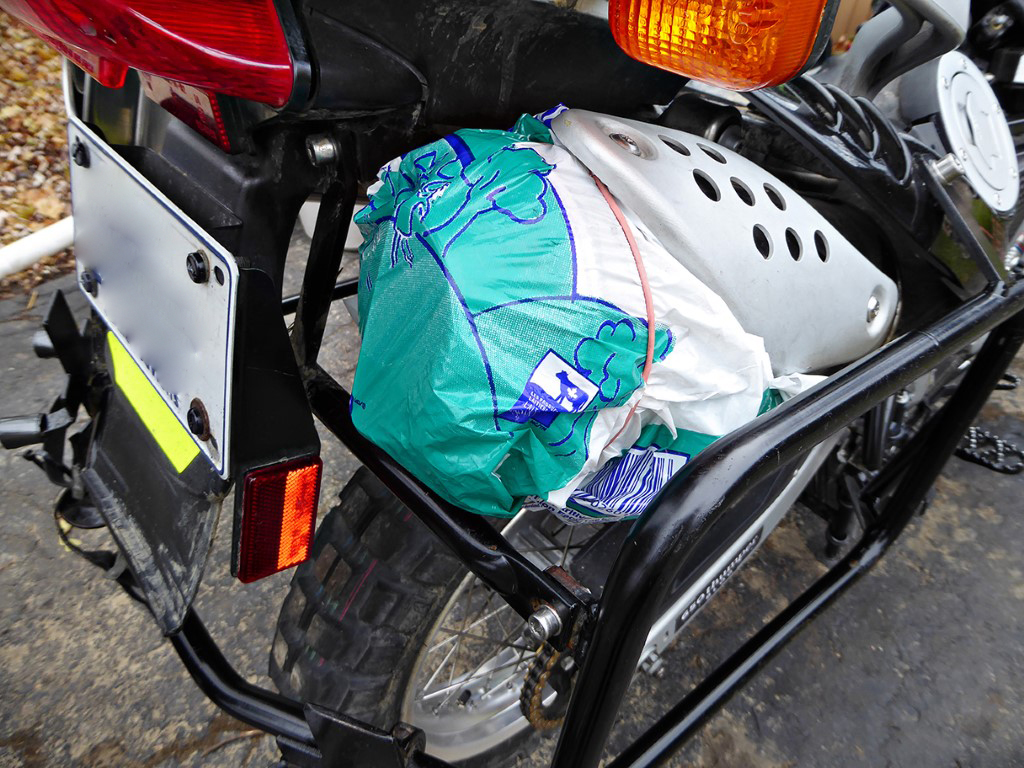
While you’re at it, spray some anti-rust product or WD-40 into your exhaust and seal with a plastic bag and an elastic band. The wide rubber bands from broccoli stalks are good for this purpose. Doing this will not only protect your exhaust system from corrosion but also prevent mice from making a home in your muffler or catalytic converter. Stuff a rag or plastic bag also into any other openings where rodents can make a home, including openings to the air box and air filter. If you get a lot of mice, you might want to use steel wool instead of a rag.
Final Steps
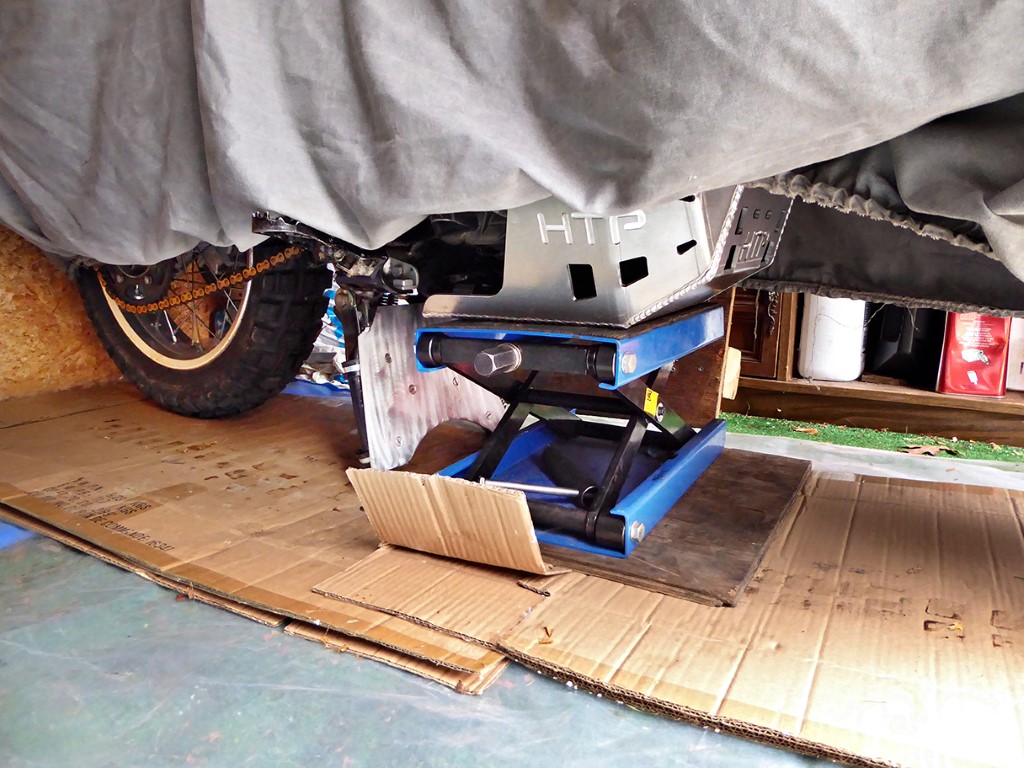
Now prepare the storage area. I lay a plastic groundsheet down first, then put cardboard on top. The plastic prevents moisture coming up from the earth, and the cardboard pulls moisture out of the surrounding air above. I’ve even heard of some who direct a low-wattage light bulb onto the bike all winter to pull more moisture out of the surrounding air, but I draw a line on my obsession somewhere. If you are storing your bike in a heated area, humidity will be less of a concern. Unless that is the case, I suggest removing the battery and bringing it indoors since it might freeze and crack when our temperatures dip into the -30s Celsius.
You might be able to get away with putting it on a battery tender outside, but I’ve never risked it. Either way, unless you have a lithium battery, you need to put a battery tender on it every few weeks to keep it topped up and healthy. A battery that sits depleted for any length of time will never be the same, even when recharged.
While apparently today’s tires will not develop flat spots, I still try to get the weight of the bike off the wheels. I use a small flatbed floor jack, but you can use a centre-stand or some combination of props. Just be sure the bike is stable. Lower the tire pressure a little, bring your saddle inside since rodents love the foam for their nests, and cover the bike. Don’t start the bike until spring since heating it will only produce condensation and increase the risk of rust.
Finally, say a little prayer of thanks for the safe and fun times this season before turning away. It’s never easy saying goodbye to Old Faithful for four months, but at least you can rest assured, knowing you’ve done everything humanly possible to return the loyalty.
Winterizing Checklist
- Clean and wax the bike
- Clean and lube the chain
- Add fuel stabilizer and top up the tank
- Change the oil and filter
- Lubricate the cylinder
- Spray anti-corrosion product on bike and in exhaust
- Seal all openings
- Remove battery and saddle and bring indoors
- Prepare the floor and jack the bike
- Lower tire pressure and cover
Ensure your bike has the best coverage all year round with Riders Plus Insurance! Get a quote for your motorcycle today.


join the conversation